Timeless Elegance: A Yo-Yo Table Runner Tutorial
I have always had a love for fabric Yo-Yo’s. They are so timeless and have so much versatility! It has always (and still is) on my bucket list to make a yo-yo quilt. While I haven’t quite taken the time to complete a whole quilt yet, I have really enjoyed working with yo-yo’s lately.
If you have never made a fabric yo-yo, you can check out this blog post where I give you a full tutorial on how to make fabric yo-yo’s, both by hand or with a yo-yo maker.
I set out to make a yo-yo table runner because to mean it just adds a little timeless elegance to a room. They have a delicate look, and remind me of the antique doilies passed down from my great grandmothers and grandmothers. That is a skill I wish I had/knew!! With so many beautiful fabrics in the world, the sky is the limit with the look you want. For this runner, I used to gorgeous new collection, Listen to your Heart, by Sharon Holland for Art Gallery Fabrics. While I do have a few favorite designers, Sharon makes the top of the list. And you can’t get much better than Art Gallery Fabrics……if you have yet to use them, you need to try them….NOW!!! They are just dreamy!!
Now this collection is a compilation of some designs from previous collections with updated colors. I love everything about this collection! It truly embodies ME! It is filled with some of my favorite designs from Sharon and uses my favorite colors!! It was so much fun to work with.
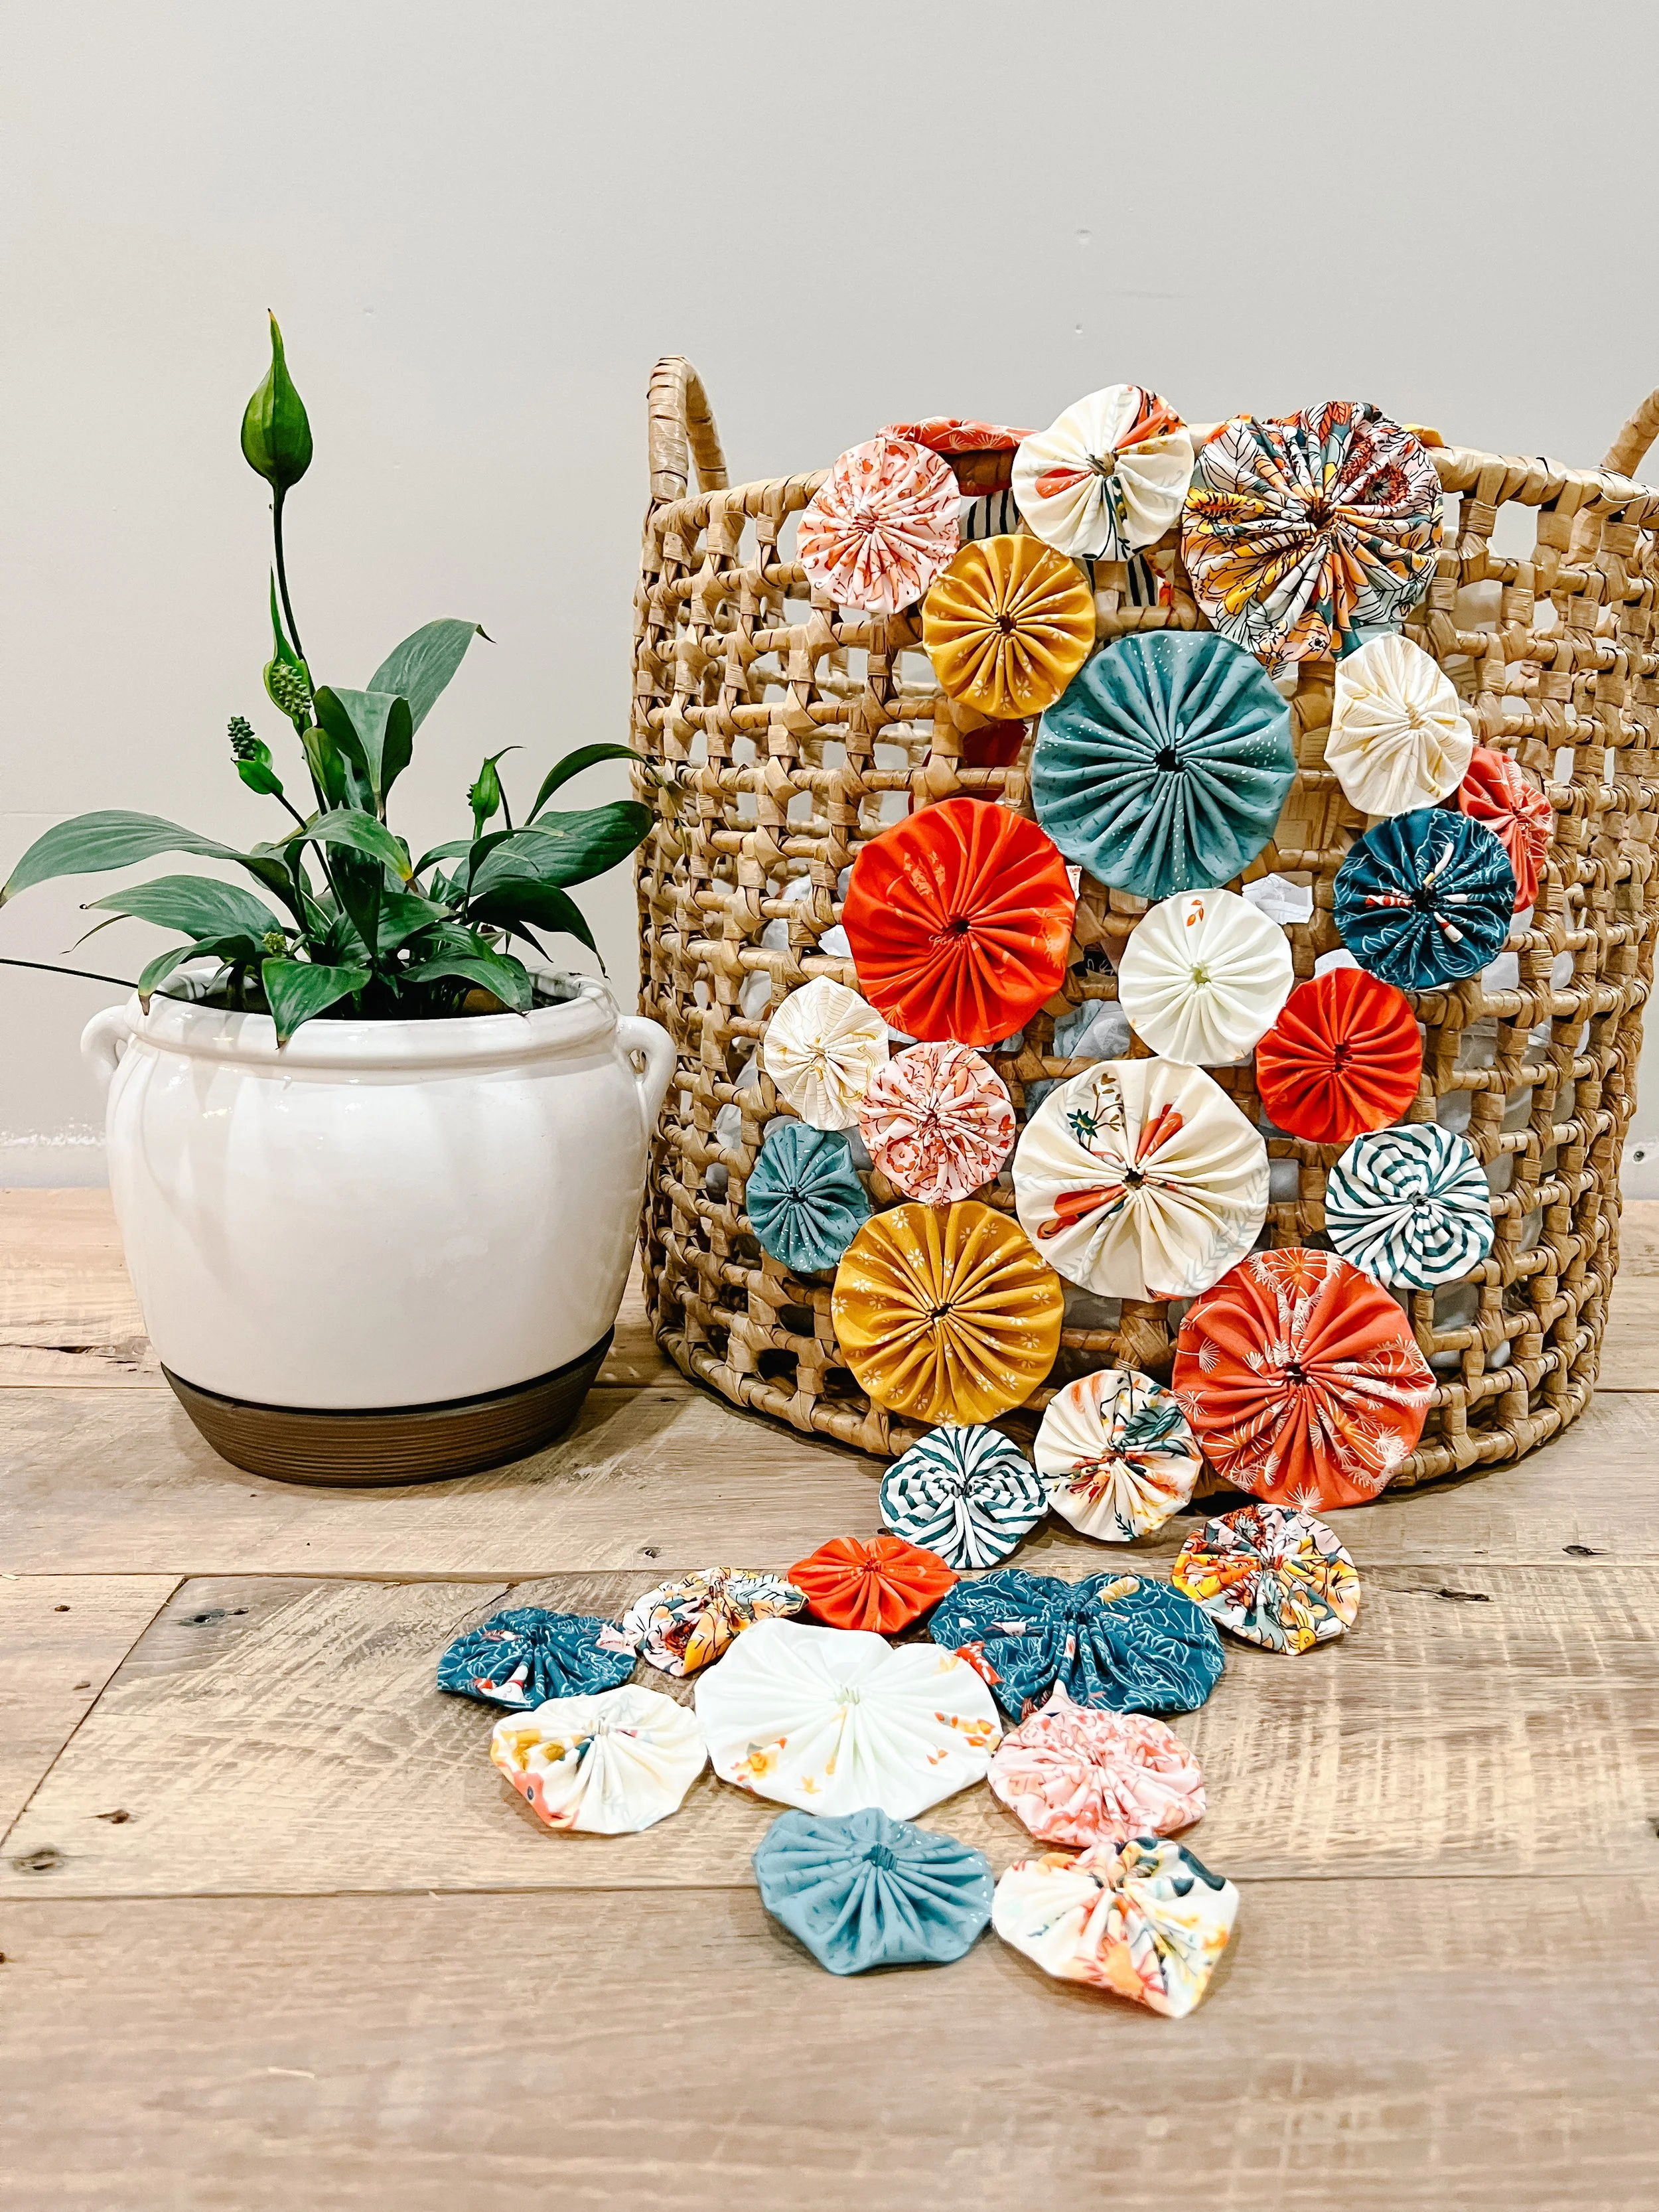
My runner ended up being about 48” in length and 12” in width. this style runner is easily adjusted to the size you want depending on how many yo-yo’s you make and how you arrange them. There is a lot of room to play. I settled on this size because it was big enough to use in the center of our table and still add cute place settings, but small enough I could use it in the center of my island/bar or on my entry table.
Making a Yo-Yo Runner
First off, you will need to decide if you want to make your yo-yo’s by hand or with a yo-yo maker. There are pros and cons to both methods. Making yo-yo’s by hand gives you more flexibility in size, but there is more ironing and prep work turning the edge under 1/4” before getting started. Using a yo-yo maker is a little quicker, but has a little more fabric waste and you are restricted to the sizes of the makers. I usually make mine by hand, but for this project I did use the yo-yo makers, just because we were traveling the weekend I started on the project and using the makers I could work on them in the care while driving and at my sister’s house and not have to take many supplies.
Below you will find the supplies needed and instructions to make a runner just like mine. Remember, you can change up the size yo-yo’s and the size of the runner to fit your needs/style.
Supplies Needed
12 Fat Quarters (FQs) - I used the complete Listen to your Heart collection. you can add more or less variety by adding more or fewer fabrics.
large and jumbo yo-yo makers
thread - i stuck with Aurifil natural for the whole project; you could use matching thread when sewing your yo-yo’s together if you prefer
embroidery scissors
needle
thimble - just for comfort
Making the Yo-Yo’s
From each FQ, I made 4 large (approximately 2 1/2”) and 1 jumbo (approximately 3 1/2”) yo-yos. I started off by cutting (4) 5” squares and (1) 8” square from each FQ.
Using the large yo-yo maker, you will place a 5” fabric square, right side down inside the outer circle. You will then click the inner circle back in place, wedging the fabric in between. Then trim around the circle (mostly the corners) until the fabric is sticking just about the edge of the maker.
Make a quilter’s knot in your thread, and run your needle through one of the designated slits through one layer of the fabric from the front side of the maker to the backside. You will then stitch back through the other side of the slit catching both layers of fabric this time. continue stiching through each slit, catching both layers of fabric until you have gone the circumference of the maker. Stich one last stitch through your starting position, catching both layers of fabric this time, and back out. This buries your knot. Do NOT knot your thread. Pop the fabric out of the maker. Give a gentle tug on the loose thread to gather your fabric and make the yo-yo shape. You will want to center your gather. Then make a knot in your thread and bury it in by stitching through a couple of the folds.
Continue this process until all your yo-yo’s are complete. The process is the same with the jumbo maker, you will just use the 8” fabric squares instead.
Assembling your Runner
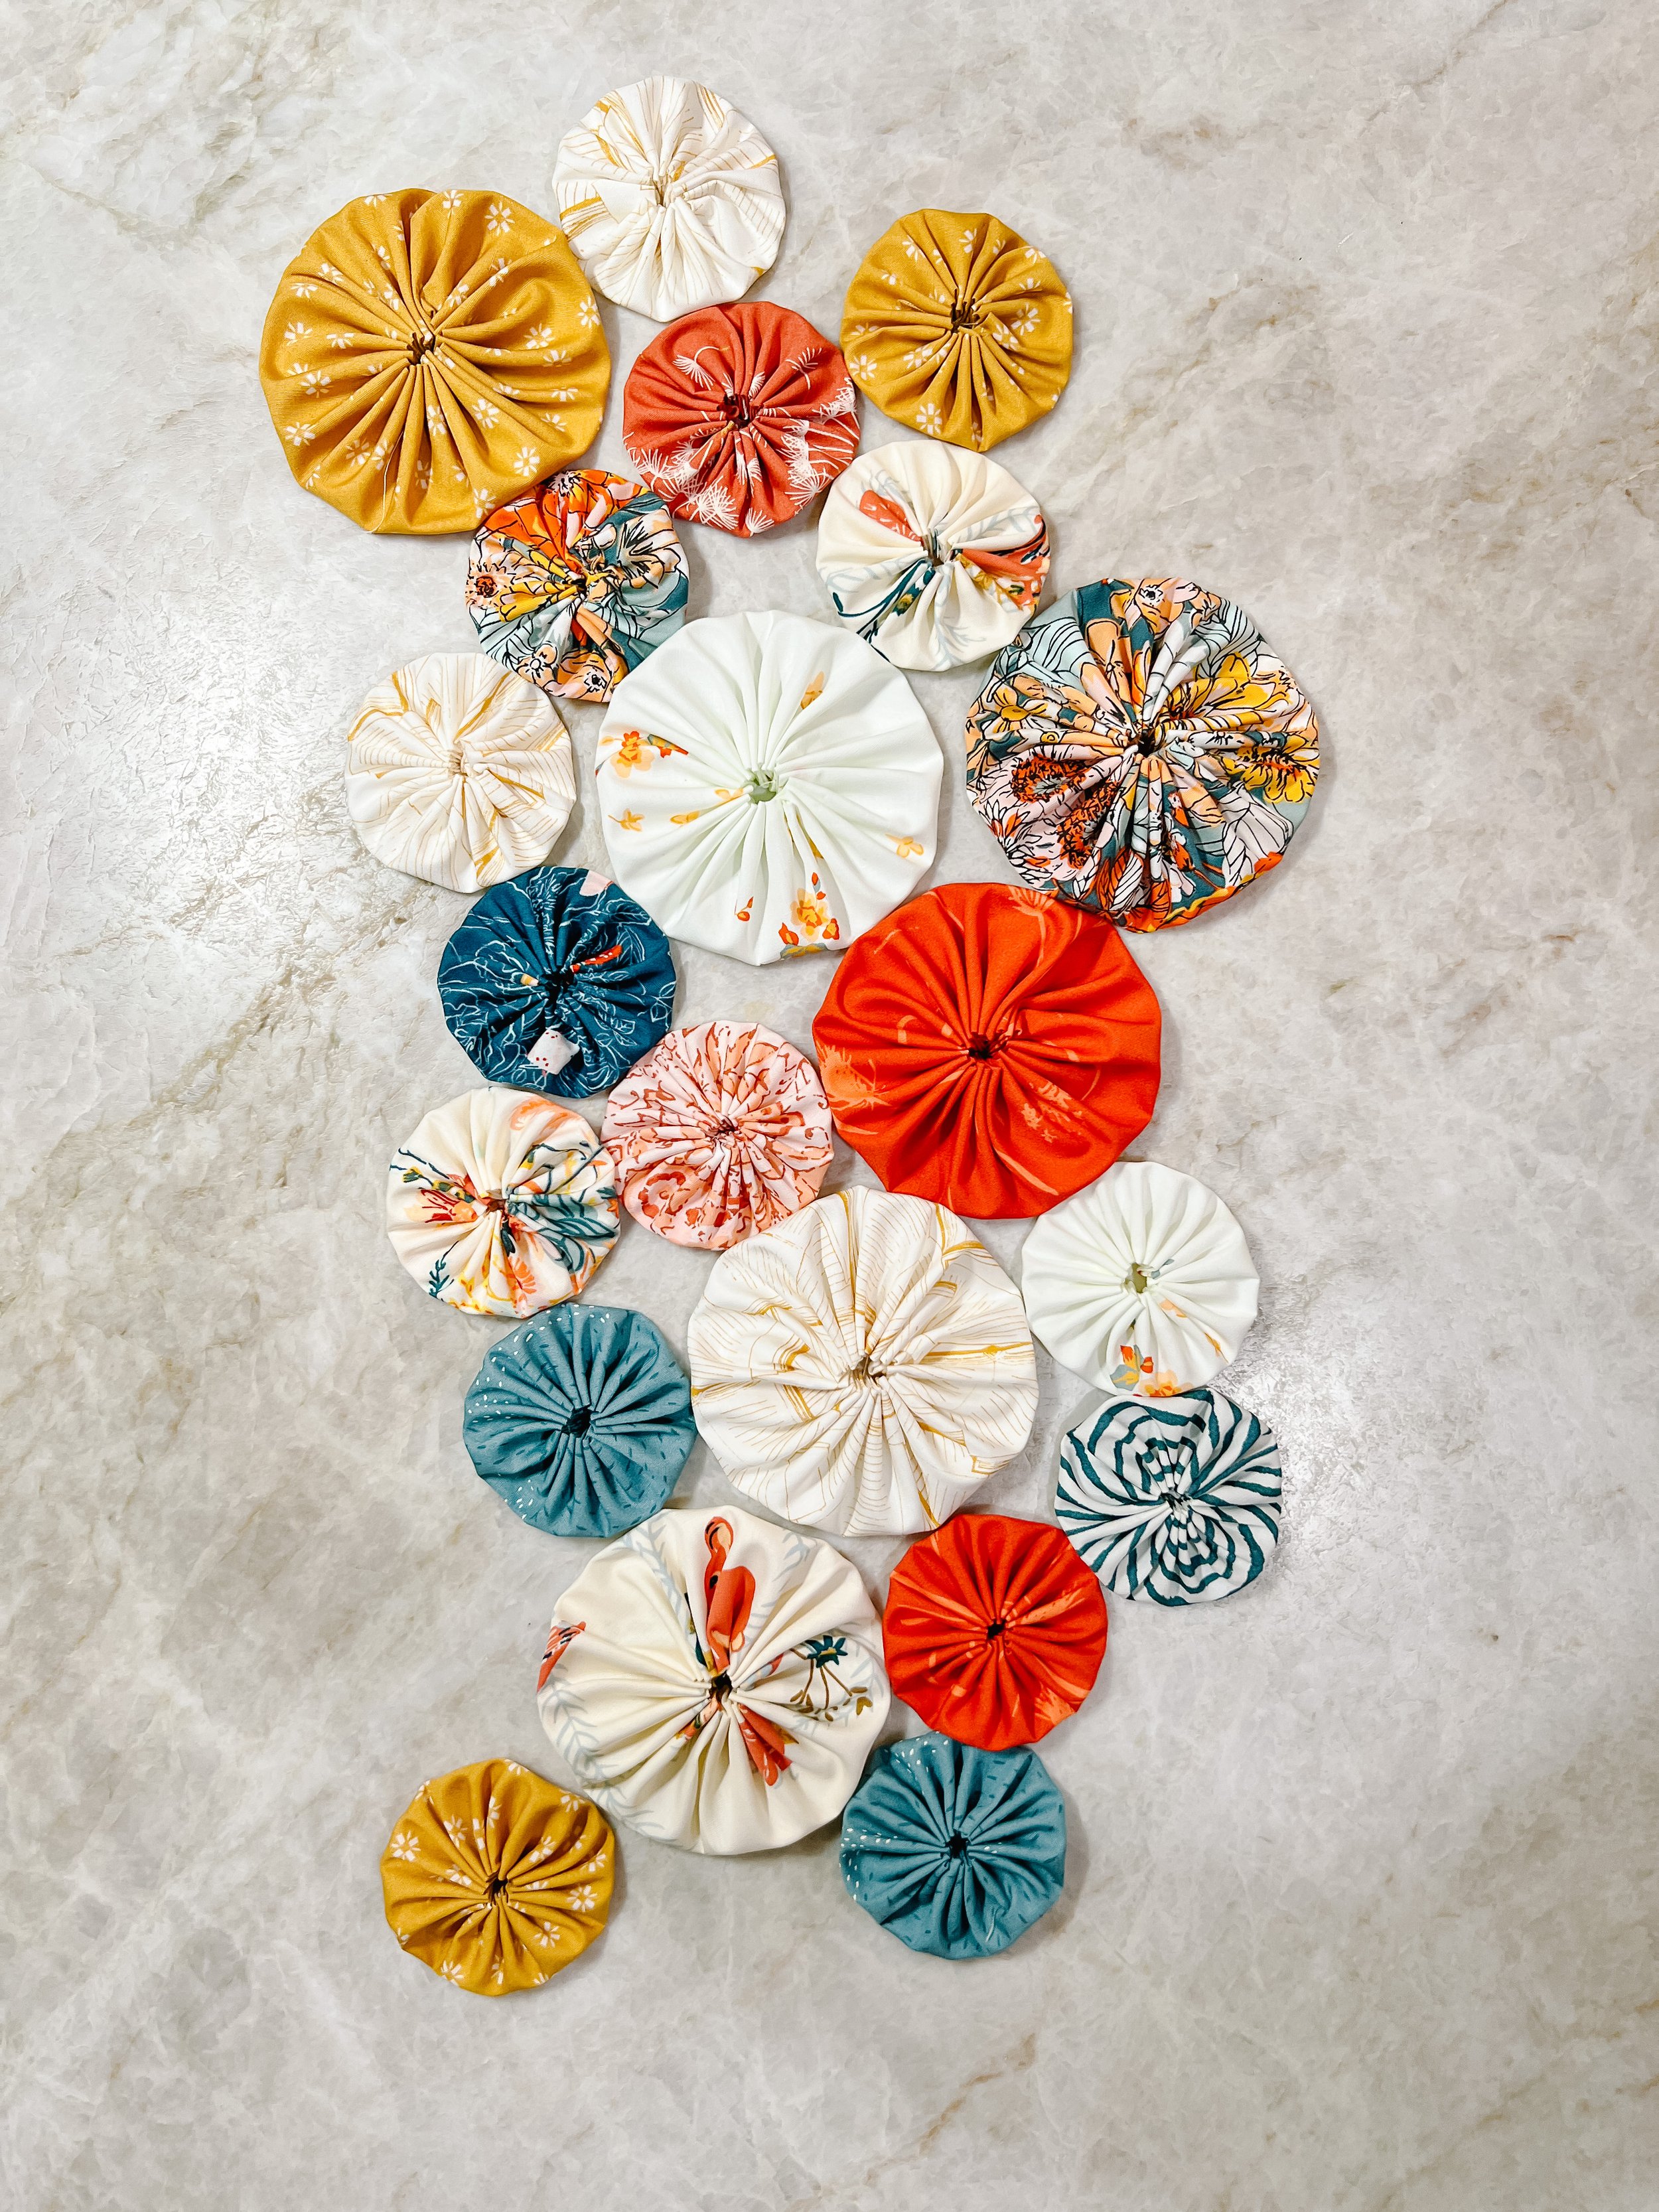
Now that you have all of your yo-yo’s made, you get to start laying out your runner. Find a larger, flat surface to work on. I suggest using a table or counter that you plan to use it most on, so you know you get the size and look you want. I started with my 3 1/2” yo-yos. I laid them out in a “wavy” line and left some gaps where the large yo-yo’s wouldn’t always be touching. Then begin adding in your smaller yo-yos, keeping the colors randomized as you go. Some gaps are ok! It adds to the delicate feel of the runner.
When I had my runner laid out to my liking, I went through and used a safety pin at every attachment point. This way I could still work on the runner anywhere I was, and I still knew where to sew each yo-yo together.
I started off connecting the yo-yos with a ladder stitch, but it wasn’t staying as tight as I wanted it to be, so I swapped to just a whip stitch. With this method, you will see your stitches some, but honestly I doubt anyone is going to look that closely. Again, I stuck with the same natural thread throughout, but you could change tread up and match colors of each yo-yo. I stitched tiny stitches, right on the edge maybe 1/4’ in length.
Once all your yo-yo’s are stitched together, lay it back out and admire. You are finished!
Alternate Layouts
Now, I wanted a randomized layout. However, there are multiple layout options. You could make all your yo-yos the same size and make a square/rectangle layout by sewing your yo-yos together in rows. You could also sew 4 like color yo-yos together in a diamond shape and then nest all the diamonds together to have an orderly randomized pattern.
I hope you have enjoyed this tutorial and I would love to see your runners. Post on social media with #yoyotablerunner and #marthajanetutorials so that I can share in your lovely makes!!


